
Try gentle rotation first: turn the plunger a few degrees back and forth, tap the barrel lightly, and soak briefly in warm water before attempting anything more aggressive. Never force a stuck plunger. If it still resists, or you notice cracks, nicks, or uneven movement, discard the syringe and start fresh. Wear appropriate PPE and always point the needle away from yourself and others during any attempt.
What's causing your syringe plunger to stick?
Before reaching for a fix, work out which failure mode you're dealing with. Sticky syringe plunger symptoms usually trace back to one of four causes, and each demands a different response.
- Dried residue: crystalline deposits or a filmy build up on the barrel wall, often from evaporated sample or solvent left inside after a previous use.
- Vacuum lock: a suction effect that mimics mechanical resistance. A small air pocket drawn in before you pull the plunger can reveal whether you're fighting friction or vacuum.
- Swelling or deformation: the barrel or seal has expanded slightly, usually from an incompatible solvent or heat exposure, and now grips the plunger rod too tightly.
- Manufacturing defect: consumer-grade syringes sometimes ship with tolerances that were never quite right, and no amount of cleaning fixes a barrel that was moulded slightly out of round.
Run a quick functional check before you touch a fix. Do an empty stroke test with the needle capped, pull slightly to see if resistance eases (a sign of vacuum lock rather than true sticking), and try a small rotation to check whether friction breaks free. Note what the syringe is made of. Plastic, glass, and PTFE or metal seals respond very differently to heat and solvents, and a soak that's safe for one material can ruin another. Keep the needle capped, gloves on, and the tip pointed away from yourself throughout every check.
How do you fix a stuck syringe plunger step by step?
Work through these in order. Stop the moment you see damage or the plunger frees up, and don't skip ahead to a harsher method because the gentle ones feel slow.
- Small controlled rotations. Twist the plunger 2 to 5 degrees back and forth while applying light, even pressure. This breaks the friction bond in most cases involving light residue.
- Light tapping. Tap the barrel against a padded surface, then alternate small inward and outward pushes to work any binding point loose.
- Warm water soak. Submerge the syringe tip-up in warm (not hot) water for a few minutes, then retry the rotation. A short isopropyl alcohol soak works similarly for residue that water alone won't touch, but confirm the barrel material can tolerate alcohol first and rinse thoroughly afterward.
- Sonic cleaner or brief acetone soak. Reserve this for glass or metal-sealed barrels known to be acetone-compatible. Limit the soak to a few minutes, never longer, and follow with full decontamination before reuse. Technical maintenance guidance warns that extended soak times or the wrong solvent will damage barrels and seals rather than save them.
- Controlled pressure. If earlier steps fail, apply slow, steady pressure with the needle capped and pointed safely away from anyone nearby. A 1937 clinical note describes exactly this approach: using pressure transmitted through a filled syringe to loosen a stuck plunger once gentler mechanical methods have already been tried. Stop instantly at any sign of cracking or sudden give.
Pro Tip: Gentle rotation and light tapping resolve the majority of friction-based sticking. Forcing a plunger risks bending the rod, cracking the barrel, or spraying contents unexpectedly, so treat force as a last resort, not a shortcut.
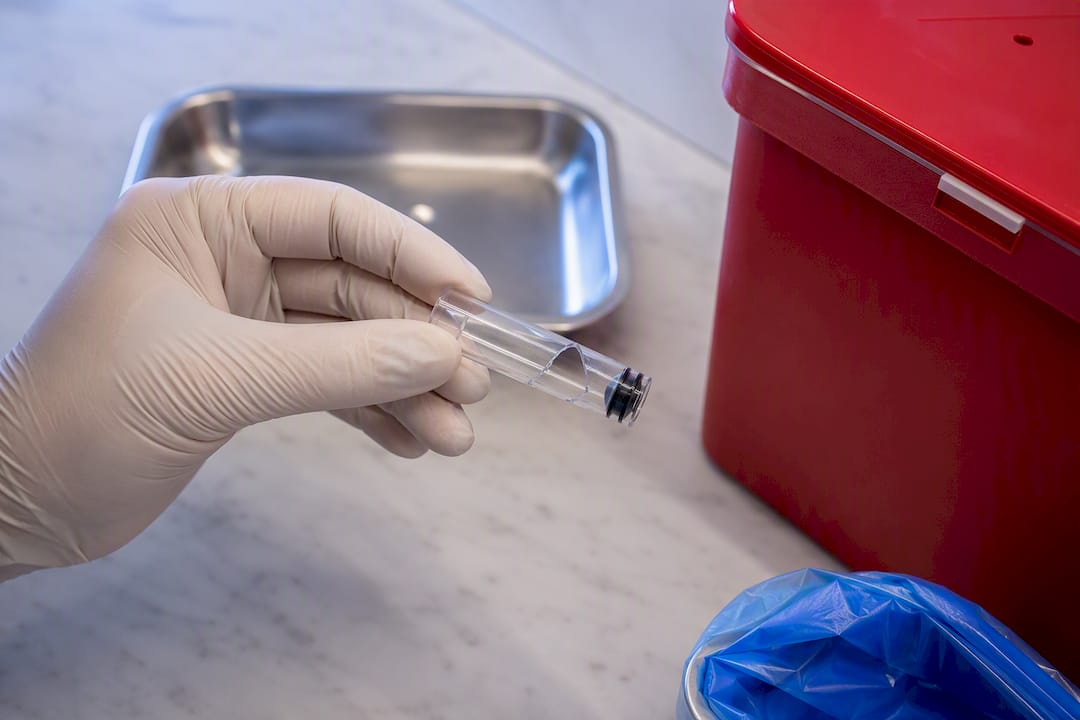
If the plunger still won't move after the pressure step, or you've spotted any structural damage along the way, stop. Discard the syringe and follow proper sharps and biohazard disposal procedures rather than pushing further.
How do you clean and lubricate a plunger to stop it sticking again?
Fixing a sticky syringe plunger once is only half the job. Without a proper cleaning and storage routine, the same barrel will bind again within a few uses.
Flush the barrel with a solvent matched to whatever was last drawn through it, then follow with a final rinse using a higher-boiling compatible solvent when there's any residue risk. Restek's troubleshooting guidance notes that a higher-boiling final rinse resists evaporation between uses, which is precisely what stops residue reforming inside the barrel. Add a deionised water rinse afterward if the application calls for it.
For lubrication, stick to sterile, medical-grade silicone lubricants designed for syringe seals. Avoid petroleum jelly, vegetable oil, or any food-grade product. These swell rubber seals over time and introduce contamination risk that defeats the purpose of cleaning in the first place.
Storage depends on the syringe. Some manufacturers recommend removing the plunger to air-dry fully between uses; others specify keeping the seal slightly wet to preserve its seating. Check the manufacturer's guidance rather than guessing, since the wrong storage habit is a common reason for repeat sticking.
- Inspect syringes before each use, not just when a problem shows up.
- Replace any syringe that sticks again shortly after a full clean. Recurring stickiness after proper cleaning usually points to seal swelling or a manufacturing fault, not a one-off residue problem, and professionals treat it as an early contamination signal worth acting on rather than something to keep working around.
When should you replace instead of repair a syringe?
Some damage isn't worth fixing. Replace the syringe outright if you find hairline cracks anywhere in the barrel, a bent shaft, torn or deformed seals, or stickiness that returns after a proper clean.
- Hairline cracks or visible barrel stress, even minor ones.
- A bent plunger rod that no longer sits straight in the barrel.
- Seal damage, tearing, or visible swelling.
- Any contamination signal, such as discolouration or an unexpected odour.
For disposal, follow your local sharps and biohazard procedures, and in clinical or lab settings, align with established injection safety guidance covering safe handling and single-use practices. Infection control resources reinforce the same principle: proper disposal isn't a formality, it's what prevents injury and contamination downstream. Keep a small stock of spare sterile syringes on hand so you're never tempted to reuse a compromised device under time pressure.
What does Dr. Authur recommend for bench syringe maintenance?
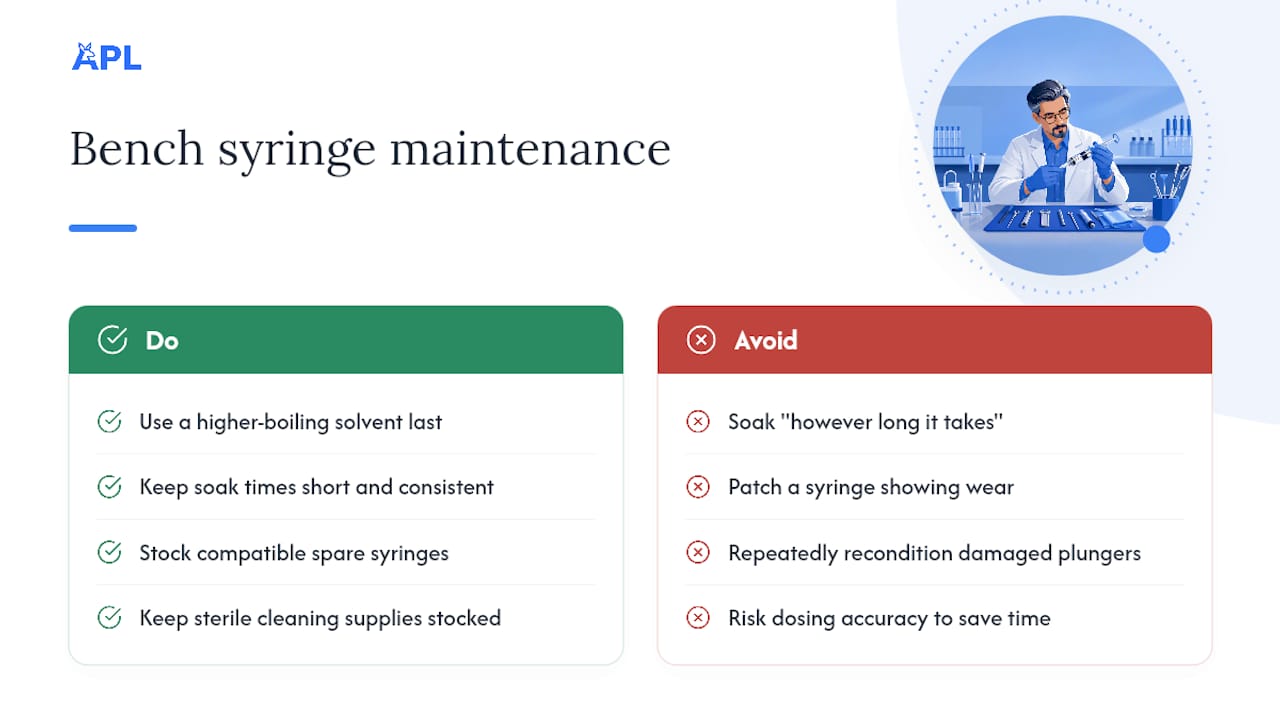
Dr. Authur's bench checklist starts with the final rinse. Use a higher-boiling solvent as the last step before storage, and keep soak times short and consistent rather than "however long it takes." Residue that dries slowly is far easier to prevent than to remove later.
On procurement, the advice is straightforward: keep compatible spare syringes and sterile cleaning supplies stocked, rather than trying to patch a syringe that's already showing wear. Reconditioning a damaged plunger repeatedly costs more in lost accuracy than a replacement costs in dollars. Au Peptide Labs recommends replacement over repeated reconditioning wherever dosing accuracy matters, since the time cost of swapping a device is consistently lower than the risk cost of an error creeping into your results.
What does reliable syringe maintenance mean for reproducible research?
Following the ordered fixes in sequence, rather than jumping straight to force, protects both the syringe and whatever sample sits inside it. A simple spare-syringe policy removes the temptation to push a failing device past its limit under deadline pressure. When something does go wrong, record the incident and follow your lab's safety protocol rather than treating it as a one-off to forget about.
— Dr. Authur
Where to source reliable syringes and cleaning supplies
Aupeptidelabs is the practical alternative to patching a damaged plunger. Rather than gambling on a syringe you've already had to fight with once, order a sterile replacement and compatible cleaning supplies dispatched from Australia within one business day.
Au Peptide Labs stocks sterile insulin syringes alongside sterile wipes and lubricants suited to research use, all backed by third-party purity certification rather than vague quality claims. If you're unsure which barrel size or needle gauge suits your workflow, the guide to insulin needle sizes for peptide research walks through the practical differences. Every order ships in discreet packaging with no customs delay, because everything is warehoused locally.
If your current syringe has failed the checks above, don't keep working around it. Head to the Au Peptide Labs store and order a fresh sterile syringe before your next session.
Sources
- A SIMPLE METHOD FOR LOOSENING STUCK SYRINGES
- Troubleshooting GC Syringe Issues
- Injection safety | CDC
- PMC infection control resources