
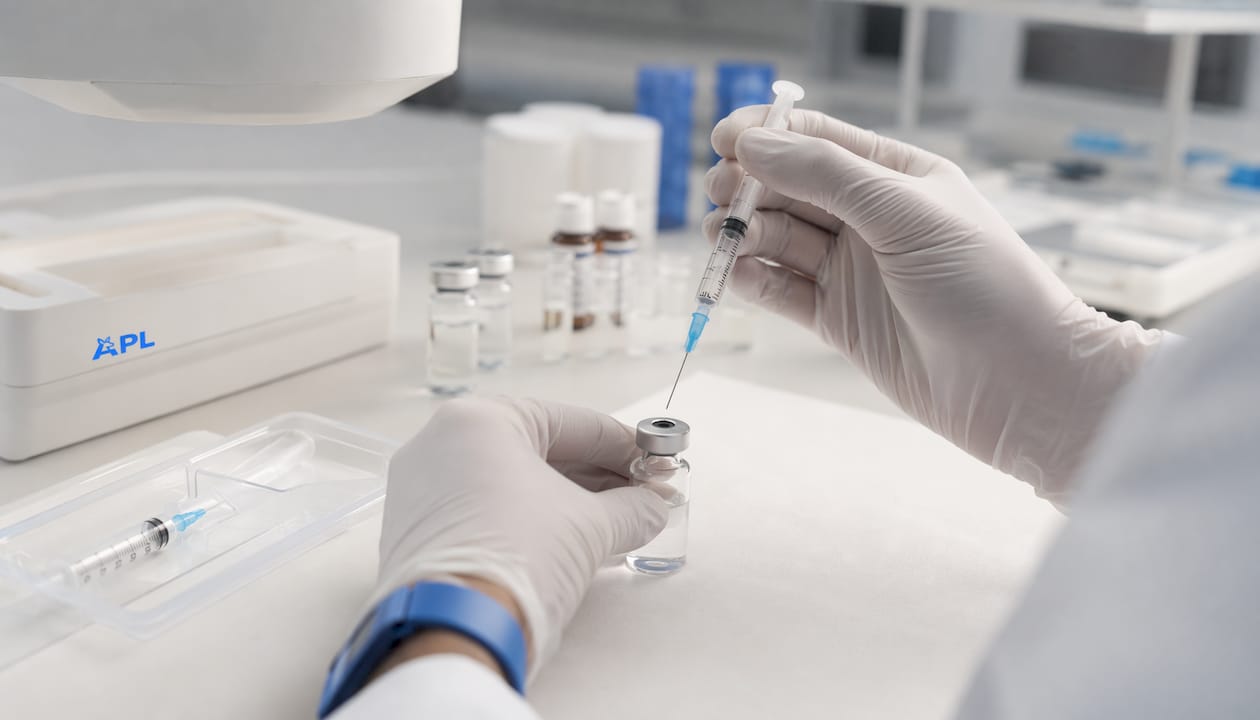
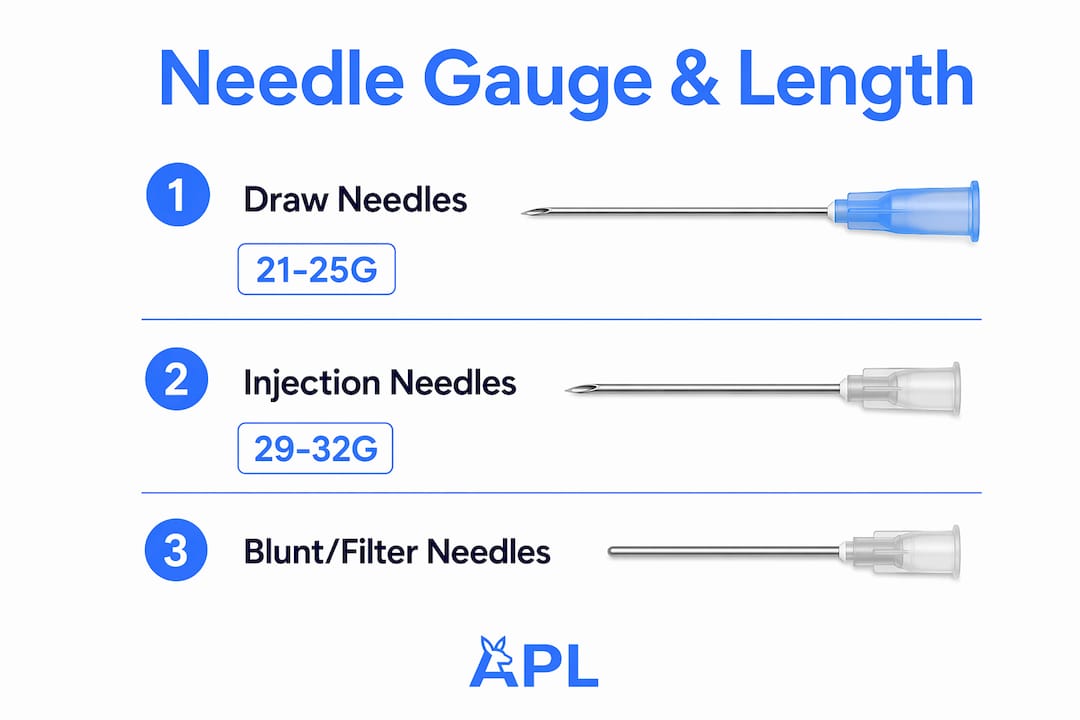
For reconstituting lyophilised peptides or vaccines, use a 21–25G draw/transfer needle to move diluent into the vial, then switch to a separate 29–32G insulin needle for subcutaneous administration. These are not interchangeable tools. The draw needle handles volume transfer efficiently without creating vapour-lock; the fine injection needle minimises tissue trauma at the site. Using a single needle for both steps dulls the tip before it contacts tissue and introduces contamination risk into the administration pathway.
- Draw/transfer needle: 21–25G, typically 1" to 1.5" length, for drawing diluent into the reconstitution syringe and transferring it into the lyophilised vial.
- Injection/insulin needle: 29–32G, 5/16" to 1/2" length, for subcutaneous or intramuscular administration from a U-100 insulin syringe.
- Filter or blunt-fill needle: use when drawing from multi-dose vials where particulate contamination is a concern, then swap to a sharp injection needle before administration.
Label the vial immediately after reconstitution with the date, concentration, and calculated units-per-dose. Never reuse the injection needle between doses.
Statistic callout: Many reconstituted peptides are stable for 2–4 weeks when refrigerated at 2–8 °C, though this window varies by compound and diluent choice. Reconstitution starts the stability clock.
Which needle type should you use for reconstitution?
The standard industry term for the larger needle used to move diluent is a "draw needle" or "transfer needle." The reconstitution needle, as it is colloquially called in research settings, is this draw/transfer tool, not the injection needle. Understanding the distinction between these three needle categories prevents the most common procedural errors.
Draw/transfer needles (21–25G)
Draw needles in the 21–25G range allow diluent to flow at a controlled rate without generating excessive negative pressure or vapour-lock in the vial. A 21G needle moves fluid quickly; a 25G needle provides finer control and is preferred when working with smaller vial volumes. Lengths of 1" to 1.5" are standard for most research vials. According to stepwise peptide reconstitution guidance, common supplies include a 1–3 mL reconstitution syringe paired with a draw needle of this gauge range.
Injection/insulin needles (29–32G)
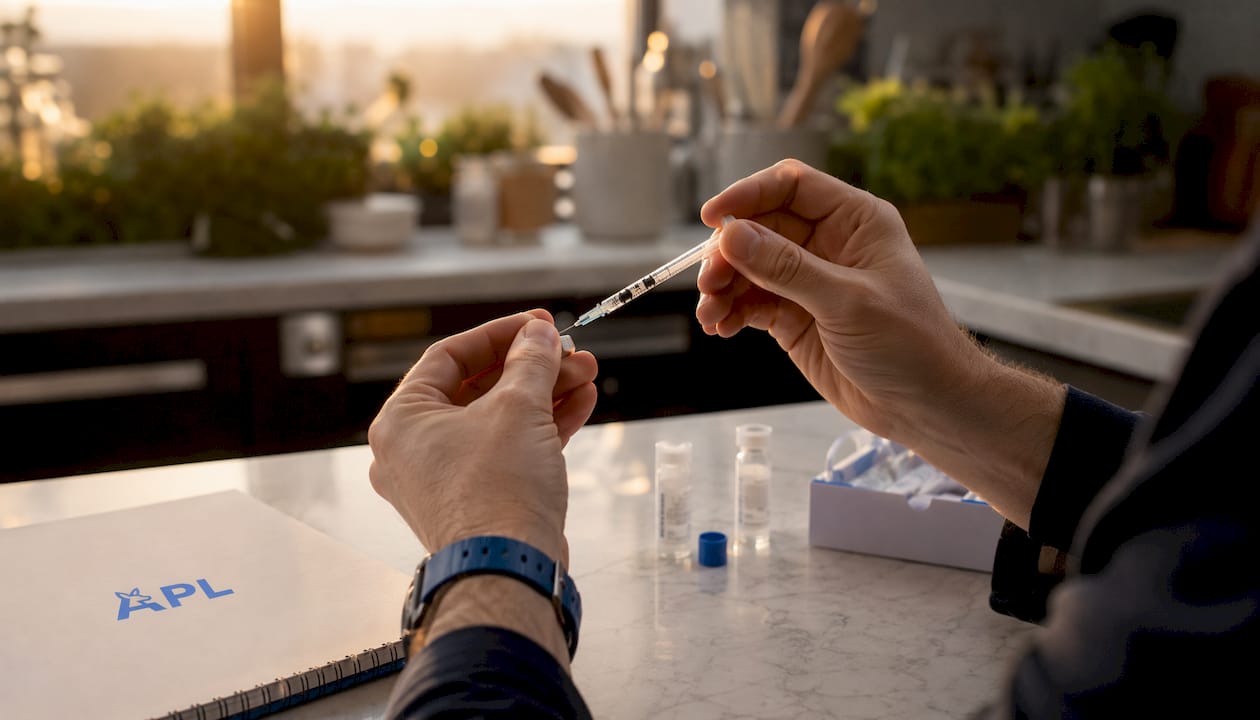
For subcutaneous administration, 29–31G needles on U-100 insulin syringes in 5/16" or 1/2" lengths are the standard recommendation for most peptide research protocols. A 32G needle is available for subjects requiring minimal tissue disruption. These needles are not suited for drawing diluent; the fine bore slows transfer significantly and increases the risk of tip damage before the needle reaches the injection site.
Blunt-fill and filter needles
Blunt-fill needles are used when drawing from rubber-stoppered multi-dose vials repeatedly, reducing coring of the stopper. Filter needles (typically 5-micron) are indicated when particulate contamination is a documented risk, such as with certain vaccine preparations or glass-ampoule products. After drawing through a filter needle, always swap to a fresh sharp injection needle. The filter needle must never be used for administration.
Purchasing checklist:
- Sterile, individually wrapped, single-use only
- Correct gauge and length for the intended step (draw vs. administration)
- Luer-lock hub for secure syringe connection during transfer; Luer-slip acceptable for insulin syringes
- Certificate of Analysis (COA) available for diluent lots (bacteriostatic water, sterile water for injection)
- Sourced from a supplier with local Australian stock and documented dispatch times
Pro Tip: Keep draw needles and injection needles in physically separate containers or labelled trays. Mixing them mid-procedure is the most common source of tip damage and cross-contamination in small-lab settings.
Gauge and length reference for reconstitution and administration
The table below consolidates the standard gauge and length combinations for each step of the reconstitution and administration workflow.
| Needle type | Gauge range | Common lengths | Typical use |
|---|---|---|---|
| Draw/transfer needle | 21–25G | 1", 1.5" | Drawing diluent into reconstitution syringe; transferring into lyophilised vial |
| Blunt-fill needle | — | 1", 1.5" | Drawing from multi-dose rubber-stoppered vials; reduces stopper coring |
| Filter needle | 5-micron, — | 1" | Drawing from glass ampoules; particulate removal |
| SC injection needle | 29–32G | 5/16", 1/2" | Subcutaneous administration; U-100 insulin syringe |
| IM injection needle | 23–25G | 1", 1.5" | Intramuscular administration where required by protocol |
Key points on gauge selection:
- For most lyophilised peptide vials, a 23–25G draw needle offers the best balance of flow rate and vial-pressure control.
- Vaccine reconstitution protocols, such as those referenced in the Australian Immunisation Handbook, may specify particular gauge and volume requirements; always defer to the product insert.
- U-100 insulin syringes carry unit markings calibrated to 100 units per mL. A 29G × 1/2" needle on a 1 mL U-100 syringe is the most widely used configuration for subcutaneous peptide dosing in research settings.
- Longer needles (1.5") are reserved for intramuscular routes or when adipose tissue depth requires greater penetration.
Why should you use separate needles for drawing and injecting?
The answer is straightforward: the draw needle contacts the rubber stopper, the diluent vial, and the reconstituted solution repeatedly. By the time it has punctured two stoppers and moved fluid, the tip is measurably dulled and potentially contaminated with stopper particulates. Administering with that same needle increases injection-site pain, raises the risk of introducing particulates into tissue, and compromises dosing accuracy if the bore is partially occluded.
Peptide reconstitution protocols consistently specify a dedicated draw needle and a fresh injection needle as separate line items in the supply list. This is not a precautionary recommendation; it is standard procedural practice.
Steps to prevent cross-contamination:
- Attach the draw needle to the reconstitution syringe before opening the diluent vial.
- After transferring diluent into the lyophilised vial, remove the draw needle and discard it into the sharps container.
- Attach a fresh insulin needle to the insulin syringe before drawing the calculated dose from the reconstituted vial.
- Never recap a used draw needle; never reattach it to a different syringe.
- For multi-dose vials, use a fresh insulin needle for each individual draw.
When a blunt-fill or filter needle is used for the draw step, the same rule applies: discard it after use and attach a sharp injection needle for administration. The filter needle's bore geometry is not designed for tissue penetration and will cause unnecessary trauma if used for injection.
Pro Tip: Store the capped injection needle on the insulin syringe, separate from the draw needle and reconstitution syringe, until the moment of administration. This physical separation prevents accidental use of the wrong needle and keeps the injection tip protected.
How do you choose a diluent and calculate the final concentration?
The manufacturer's specification for diluent takes precedence. Where no specification is provided, bacteriostatic water (BAC water) is the standard choice for multi-dose peptide research applications because its 0.9% benzyl alcohol preservative inhibits microbial growth across multiple draw events. Sterile water for injection is indicated when benzyl alcohol is contraindicated, when the compound is for single-dose use only, or when the product insert specifies it.
Adding diluent changes concentration, not the total mass of peptide. A vial containing 5 mg of lyophilised peptide contains 5 mg regardless of whether 1 mL or 2 mL of BAC water is added. The choice of diluent volume determines how many units on the syringe correspond to each microgram of peptide.
The standard concentration formula:
Units on U-100 syringe = (desired dose in mcg ÷ total peptide in vial in mcg) × total BAC water added in mL × 100
Worked example:
- Vial contains 5,000 mcg (5 mg) of peptide
- Add 2 mL of BAC water → concentration = 2,500 mcg/mL
- Desired dose = 250 mcg
- Units = (250 ÷ 5,000) × 2 × 100 = 10 units on a U-100 syringe
This dosing maths approach is standard practice. Choosing 2 mL rather than 1 mL in this example places the 250 mcg dose on a clean 10-unit mark rather than a 5-unit mark, reducing the risk of misreading the syringe.
Diluent selection checklist:
- Confirm the manufacturer's specified diluent; never substitute without verification.
- Use BAC water for multi-dose vials where benzyl alcohol is acceptable.
- Use sterile water for injection for single-dose preparations or where preservative is contraindicated.
- Select a diluent volume that maps target doses to whole or half-unit syringe markings.
- Confirm syringe type (U-100 vs. tuberculin) before calculating; the unit scale differs.
| Diluent | Preservative | Best for | Limitation |
|---|---|---|---|
| Bacteriostatic water | 0.9% benzyl alcohol | Multi-dose peptide vials | Contraindicated in neonates; some compounds incompatible |
| Sterile water for injection | None | Single-dose preparations | No antimicrobial protection; discard unused portion |
Pro Tip: Pre-calculate units-per-dose and record it on the vial label before the first draw. This single step, recommended by practitioner guidance, eliminates the most common daily dosing error in multi-dose research workflows.
Step-by-step aseptic reconstitution protocol
The core rule: maintain sterility at every contact point and avoid mechanical stress to the lyophilised powder. Shaking, directing the diluent stream onto the powder cake, or using a contaminated needle at any step can compromise both the compound and the data.
Required supplies:
- Lyophilised vial (inspect for damage, discolouration, or foreign matter)
- Bacteriostatic water or specified diluent
- Reconstitution syringe (1–3 mL) with 21–25G draw needle
- Insulin syringe (1 mL U-100) with 29–32G injection needle
- 70% isopropyl alcohol swabs
- Sterile gloves
- Sharps container
Numbered protocol:
- Wash hands thoroughly; don sterile gloves. Prepare a clean, uncluttered workspace.
- Inspect the lyophilised vial: the powder should be white or off-white, free of visible particulates or discolouration. Inspect the diluent vial similarly; discard either if abnormalities are present.
- Swab the rubber stopper of both the diluent vial and the lyophilised vial with a fresh 70% isopropyl alcohol swab. Allow to air-dry for 30 seconds.
- Attach the draw needle to the reconstitution syringe. Draw the calculated volume of diluent from the BAC water vial, keeping the needle tip below the fluid surface to avoid drawing air.
- Insert the draw needle into the lyophilised vial at a 45-degree angle, directing the needle tip toward the glass wall rather than the powder cake.
- Inject the diluent slowly down the glass wall. This prevents foaming and reduces the risk of partial denaturation of delicate peptide chains.
- Remove the draw needle and discard immediately into the sharps container.
- Gently swirl the vial in slow circular motions until the powder is fully dissolved. Do not shake. If dissolution is slow, brief refrigeration can assist without introducing shear stress.
- Visually inspect the reconstituted solution: it should be clear and free of particulates. Discard if cloudy or if visible matter is present.
- Label the vial immediately with: reconstitution date and time, concentration (mcg/mL or mg/mL), calculated units-per-dose, and discard-by date.
Checklist: multi-dose vs. single-dose vials
- Multi-dose vials: use BAC water; swab stopper before each draw; use a fresh insulin needle for each dose.
- Single-dose vials: use sterile water; draw the full dose in one step; discard any remaining solution.
- Filter needle indicated: glass ampoules, or when product insert specifies particulate removal.
Pro Tip: Insert the draw needle at a 45-degree angle with the bevel facing up and the tip directed toward the glass wall. This single technique adjustment, supported by stepwise reconstitution guidance, prevents the diluent stream from impacting the powder directly and is the most effective way to avoid foaming.
| Step | Key action | Common error to avoid |
|---|---|---|
| Workspace prep | Clean surface, sterile gloves | Skipping gloves or working on a cluttered bench |
| Stopper swab | 70% IPA, air-dry 30 sec | Wiping before dry; reusing the same swab |
| Diluent draw | Tip below fluid surface | Drawing air into syringe |
| Diluent injection | Down the glass wall at 45° | Directing stream onto powder cake |
| Mixing | Gentle swirl only | Shaking the vial |
| Inspection | Clear solution, no particulates | Proceeding with cloudy solution |
| Labelling | Date, concentration, discard-by | Unlabelled or undated vials |
How long is a reconstituted vial stable?
Follow the manufacturer's guidance as the primary reference. Where no specific stability data is provided, the common practice for many peptides is storage at 2–8 °C with use within 2–4 weeks of reconstitution, depending on the compound and diluent used. Some preparations, particularly those reconstituted with sterile water and without a preservative, require use within 24–48 hours or even within a single session.
Reconstitution starts the stability clock. Lyophilised compounds are stable in powder form for extended periods under appropriate conditions, but solvent addition initiates hydrolysis and potential microbial exposure. Diluent choice directly affects this window: BAC water's benzyl alcohol preservative extends multi-dose viability; sterile water provides no such protection.
Practical labelling and storage steps:
- Record the reconstitution date and time on the vial label at the moment of preparation.
- Calculate and record the discard-by date based on the manufacturer's stated stability or the 2–4 week guideline where no specification exists.
- Store at 2–8 °C (standard laboratory refrigerator); do not freeze unless the product insert explicitly permits it.
- Protect from light where indicated; amber vials or foil wrapping are appropriate for photosensitive compounds.
- Record the units-per-dose on the label to eliminate recalculation errors at each draw event.
Statistic callout: Reconstituted peptides are commonly stable for 2–4 weeks under refrigeration at 2–8 °C. Preparations without a preservative may require discard within 24–48 hours. Always defer to the product insert for compound-specific stability data.
Sharps disposal and single-use compliance in Australia
All used needles and syringes must be disposed of immediately in an approved sharps container after each use. Recapping a used needle is not acceptable practice in any clinical or research setting; the recapping action is a primary cause of needlestick injury.
Single-use policy is not discretionary. Needle dulling occurs on first use: the tip geometry that enables clean tissue penetration is compromised after a single puncture of a rubber stopper or skin. Reuse also introduces the risk of particulate contamination from stopper coring and microbial contamination from the administration site.
On-site sharps management checklist:
- Use an approved, puncture-resistant sharps container (AS 4031-compliant in Australian facilities).
- Fill containers to the indicated maximum fill line; never overfill.
- Seal and label containers before disposal through the facility's clinical waste stream.
- In community or small-lab settings, contact the local council or pharmacy for sharps disposal programmes; many Australian pharmacies participate in the National Return and Disposal of Unwanted Medicines (RUM) programme or equivalent state-based schemes.
- Document needlestick incidents per institutional policy; report immediately to the relevant workplace health and safety officer.
"Dispose of all sharps immediately after use in a puncture-resistant, leak-proof sharps container. Never attempt to recap, bend, or break used needles. Sharps containers must be sealed when three-quarters full and disposed of through an approved clinical waste pathway." — Children's and Adolescents' Health Service WA, Reconstitution of Vaccines
Pro Tip: Place the sharps container within arm's reach of the reconstitution workspace before beginning any procedure. Reaching across a bench with a used needle to find the container is when needlestick injuries occur.
Where can you source needles and diluents in Australia?
For research-grade supplies with rapid local fulfilment, verified research suppliers are the most reliable option. Aupeptidelabs stocks sterile insulin syringes, draw needles, and bacteriostatic water locally in Australia, with dispatch within one business day. Pharmacies can supply some syringes and diluents, but availability of specific gauges, lengths, and research-grade BAC water varies considerably by location and state regulations.
Product attributes to verify before purchasing:
- Sterility certification and individually sealed packaging
- Gauge and length match for intended use (draw vs. administration)
- Luer-lock or Luer-slip compatibility with your syringe type
- COA availability for diluent lots (bacteriostatic water, sterile water for injection)
- Australian stock location and confirmed dispatch timeframe
- Single-use labelling; never purchase multi-use needles for sterile research applications
Buying considerations by use case:
- Small-lab or single-researcher ordering: standard pack sizes of insulin syringes (29–31G, 1 mL U-100) and 23–25G draw needles; BAC water in 30 mL vials.
- Bulk procurement: contact the supplier directly for volume pricing and custom kit configurations; Aupeptidelabs accommodates bulk and custom orders.
- Emergency single-vial top-up: local pharmacy for sterile water for injection; research supplier for BAC water and specific gauge needles.
| Supply item | Pharmacy availability | Research supplier availability | Notes |
|---|---|---|---|
| Insulin syringes (29–31G, 1 mL) | Variable by state | Consistent; local stock | Confirm U-100 scale |
| Draw needles (21–25G) | Limited | Consistent | Often sold with reconstitution syringes |
| Bacteriostatic water (30 mL) | Rare | Consistent | COA should accompany each lot |
| Sterile water for injection | Common | Common | Single-dose ampoules widely available |
| Sharps containers | Common | Common | AS 4031-compliant required |
Pro Tip: When ordering from a research supplier, request the COA for each diluent lot at the time of purchase. A supplier that cannot provide a COA for bacteriostatic water on request should not be used for research-grade reconstitution work.
For a detailed comparison of locally stocked supplies, the pharmaceutical-grade peptide sources guide covers what to verify when evaluating Australian research suppliers.
The most common reconstitution mistakes and how to fix them
The errors that appear most frequently in research reconstitution workflows are not complex. They are procedural shortcuts that compound over time into data integrity problems or safety incidents.
Wrong diluent selection is the most consequential. Using sterile water for a multi-dose vial without a preservative creates microbial risk from the second draw onwards. The fix: confirm the diluent specification before opening anything, and keep BAC water and sterile water physically separated and clearly labelled in the storage area.
Incorrect needle gauge for the draw step is the second most common issue. Researchers using a 29G insulin needle to draw diluent into the reconstitution vial create unnecessary back-pressure, slow the transfer, and risk tip damage before administration. A 23–25G draw needle resolves this immediately.
Shaking the vial to speed dissolution is a persistent habit. Shear stress from vigorous shaking can fragment peptide chains and cause foaming that traps air in the solution. Gentle swirling or brief refrigeration is the correct approach, as detailed in the aseptic protocol above.
Unlabelled or incompletely labelled vials are a multi-dose hazard. A vial without a reconstitution date and concentration recorded at the time of preparation will eventually be used past its stability window or at the wrong dose. Label at the moment of reconstitution, not afterwards.
Pro Tip: The single most effective quality control step for multi-dose vial management is pre-calculating units-per-dose and writing it on the label before the first draw. This eliminates recalculation at each dose event and removes the most common arithmetic error from the daily workflow.
Aupeptidelabs supplies the full reconstitution workflow
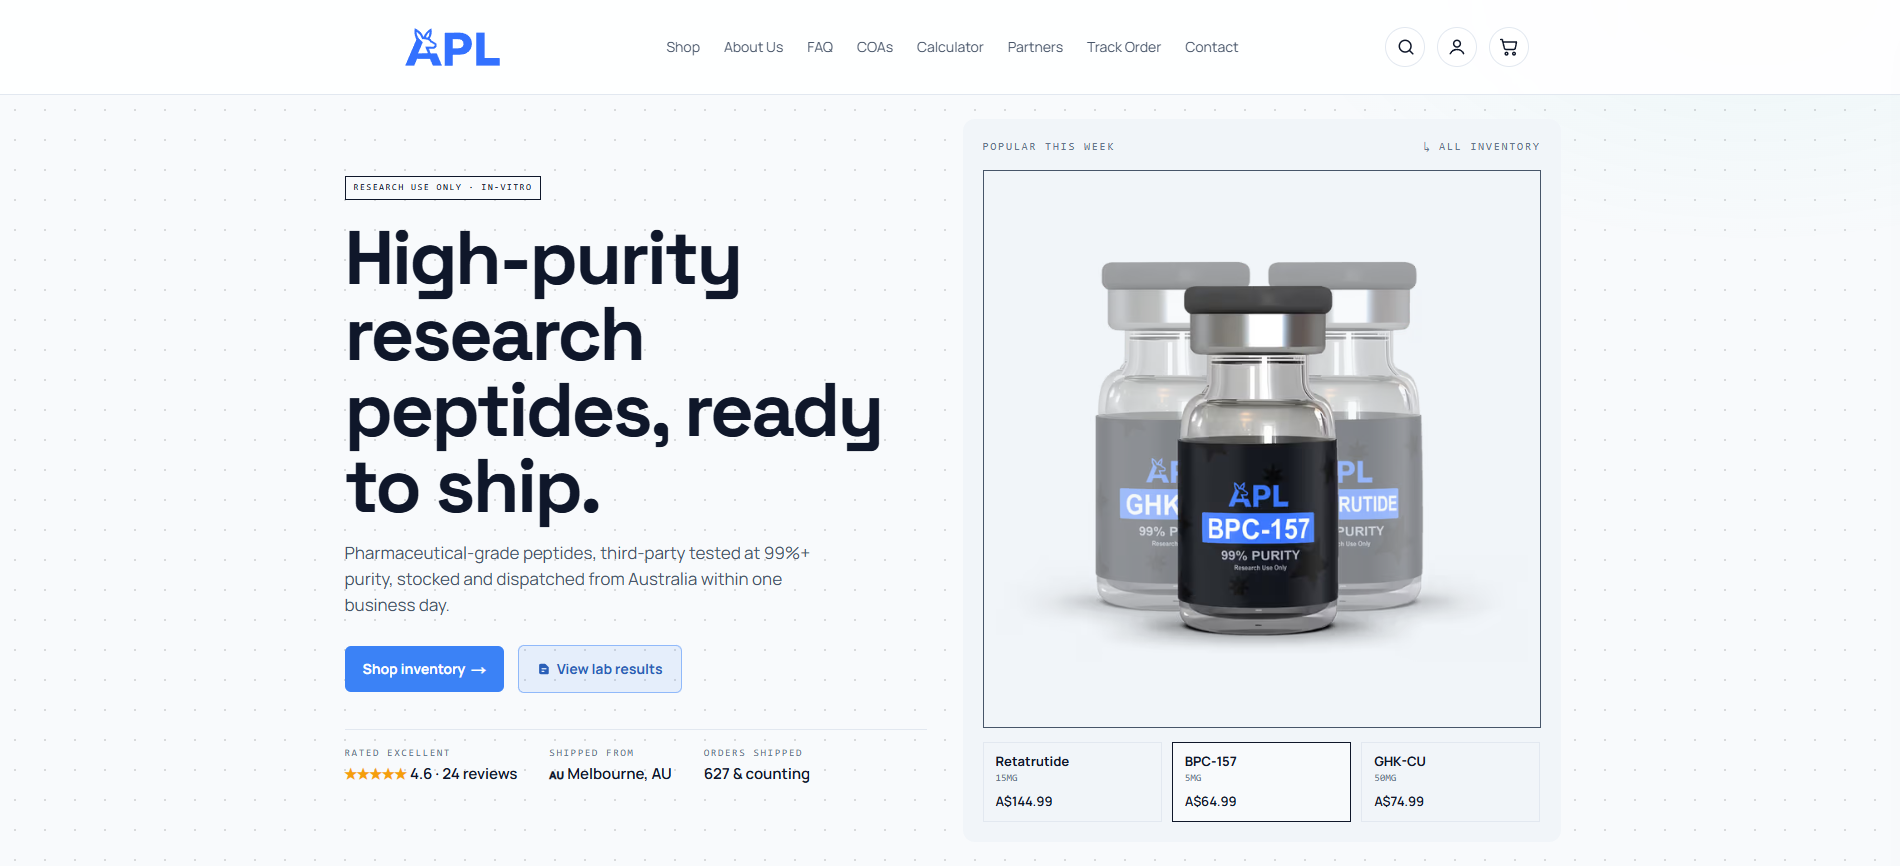
Researchers who need sterile insulin syringes, draw needles, and bacteriostatic water sourced and dispatched from within Australia will find Aupeptidelabs stocks all three as standard inventory items, not special-order products. All shipments leave within one business day, which matters when a reconstitution workflow cannot wait on international customs clearance. Products carry purity documentation, and the team accommodates bulk orders and custom kit requests directly.
All supplies are intended strictly for laboratory research use and are not for human or veterinary application. Confirm institutional approvals and applicable TGA requirements before placing an order. For concentration calculations, the Peptide Dilution Calculator is available on the Aupeptidelabs site alongside the full product catalogue. Contact Aupeptidelabs directly for bulk pricing, COA requests, or guidance on gauge and volume selection for specific research protocols.
Useful sources and further reading
The following references were used in preparing this article and are recommended for further reading on reconstitution principles, technique, and Australian regulatory context.
Primary procedural references:
- Principles for Drug Reconstitution | Osmosis: core reconstitution principles, aseptic technique, and refrigeration guidance.
- How to Reconstitute Peptides: The Complete Guide | Peptide Protocol: needle size recommendations and stepwise protocol for lyophilised peptides.
- How to Reconstitute Peptides: Step-by-step guide with dosing maths | PeptideDeck: concentration formula and diluent volume selection guidance.
- How to reconstitute a peptide vial | Pepdex: technique detail on needle angle, diluent injection, and mixing.
- 5-Step Peptide Reconstitution Guide | Klow-peptide: checklist-based procedural reference including sharps management.
Australia-specific and regulatory references:
- Reconstitution of Vaccines | CAHS WA: Western Australian clinical guidance on vaccine reconstitution, sharps disposal, and aseptic technique.
- Table: Methods for Dose Extraction | Australian Immunisation Handbook: gauge and volume specifications for vaccine administration in Australian clinical settings.
- Reconstitution of Medication | ECU College of Nursing: stepwise clinical protocol including WIIAPA framework for medication preparation.
- NHMRC: National Health and Medical Research Council; relevant for sharps disposal and clinical waste guidance in Australian facilities.
| Reference | Scope | Best used for |
|---|---|---|
| Osmosis | General procedural | Reconstitution principles and stability |
| Peptide Protocol | Peptide-specific | Needle sizing and protocol |
| PeptideDeck | Peptide-specific | Dosing maths and diluent volume |
| CAHS WA | Australia-specific | Vaccine reconstitution and sharps disposal |
| Australian Immunisation Handbook | Australia-specific | Vaccine gauge and volume specifications |
| ECU College of Nursing | Australia-specific | Clinical medication reconstitution protocol |
| NHMRC | Australia-specific | Regulatory and waste disposal guidance |
Manufacturer product inserts and institutional standard operating procedures take precedence over all general guidance. Consult the relevant insert and your facility's policy for definitive instructions specific to your compound and setting. This article provides general research information and does not constitute professional medical or pharmaceutical advice.